
Taking Your Designs to New Heights: Discover the Art of Creating the Best Elevation Drawings
Are you an architect or a designer looking to take your projects to new heights? If so, you've come to the right place. In this article, we will explore the art of creating the best elevation drawings and how they can elevate your designs to a whole new level.
Elevation drawings are a crucial tool in the design process that allow you to visualize and showcase your architectural ideas. Whether you're working on a residential or commercial project, the ability to effectively communicate your vision through detailed and accurate elevation drawings is essential. It helps convey the scale, proportions, and overall aesthetic of the final design.
With the right techniques and attention to detail, you can create elevation drawings that not only impress clients but also serve as a valuable reference throughout the construction process. From capturing the intricate details of façade elements to portraying the play of light and shadow, elevation drawings breathe life into your designs.
Join us as we delve into the world of elevation drawings and discover how they can enhance your architectural projects. Unleash your creativity and master this art to showcase your designs in the best possible light.

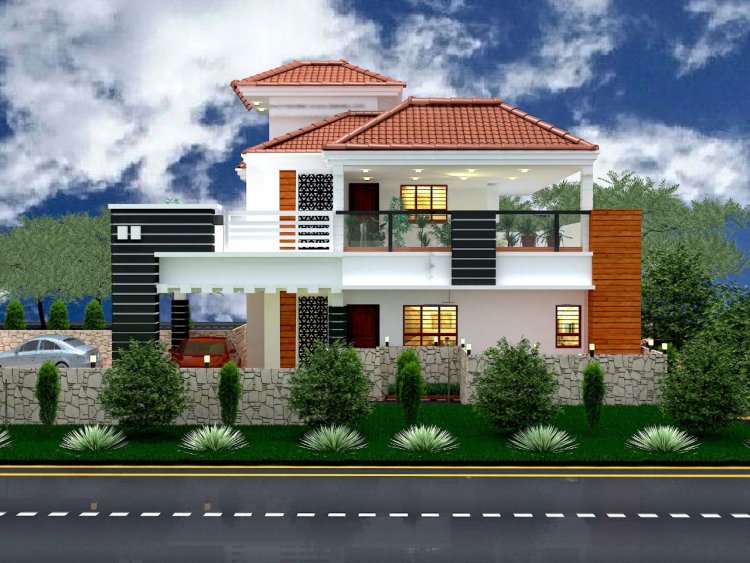
front elevation
Understanding elevation drawings
Elevation drawings are a crucial tool in the design process that allow you to visualize and showcase your architectural ideas. Whether you're working on a residential or commercial project, the ability to effectively communicate your vision through detailed and accurate elevation drawings is essential. It helps convey the scale, proportions, and overall aesthetic of the final design.
Elevation drawings provide a vertical representation of the building, showing the exterior façade from different viewpoints. They typically include the height, width, and depth dimensions, as well as details of the materials, textures, and finishes used. By creating elevation drawings, you can bring your designs to life and enable others to fully understand and appreciate your vision.
Creating elevation drawings requires a combination of technical skills and artistic flair. It's not simply about drawing lines and shapes; it's about capturing the essence and character of the building. Each line and stroke must be deliberate and purposeful, conveying the intended mood and atmosphere of the design.

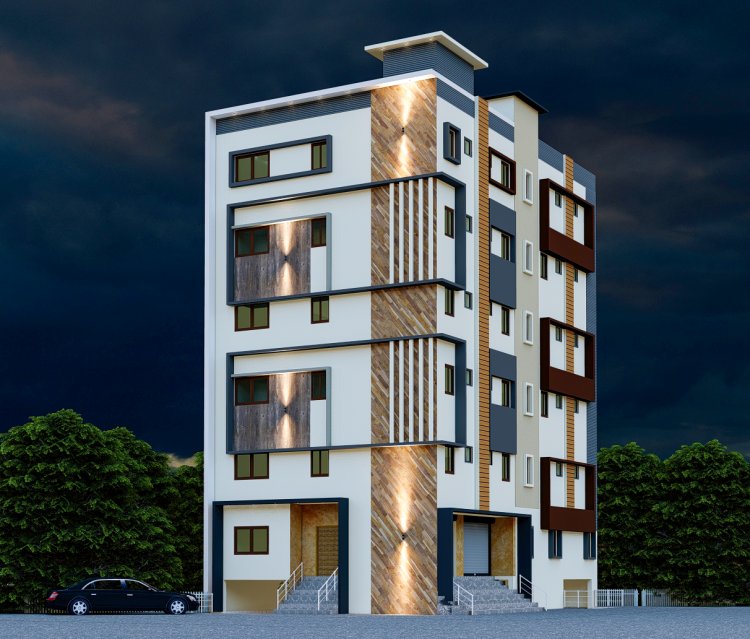
normal elevation
The importance of elevation drawings in design
Elevation drawings play a vital role in the design process for several reasons. Firstly, they allow you to communicate your ideas to clients, contractors, and other stakeholders. Unlike floor plans or 3D models, elevation drawings provide a clear and concise representation of how the building will look from the outside.
Secondly, elevation drawings help in the decision-making process. By visualizing the design in elevation, you can identify any potential design flaws or inconsistencies. This allows you to make necessary adjustments before construction begins, saving time and money in the long run.
Additionally, elevation drawings serve as a reference for builders and contractors during the construction phase. They provide precise measurements and details, ensuring that the final structure matches the original design intent. This can help prevent misunderstandings and ensure that the end result meets your expectations.
In summary, elevation drawings are essential for effective communication, decision-making, and construction accuracy. They bridge the gap between imagination and reality, enabling you to bring your architectural visions to life.
Elements of a successful elevation drawing
Creating a successful elevation drawing requires careful consideration of various elements. These elements work together to convey the desired message and evoke the intended emotions. Let's explore some key elements that contribute to a compelling elevation drawing.
1. Scale and Proportions: Scale and proportions are crucial for accurately representing the size and dimensions of the building. It's important to ensure that the drawing accurately reflects the real-world measurements. This helps viewers understand the overall size of the building and its relationship to the surrounding environment.
2. Façade Details: Paying attention to the details of the façade is essential for creating a realistic and visually appealing elevation drawing. This includes capturing the intricate features such as windows, doors, balconies, and decorative elements. It's important to accurately represent the materials, textures, and finishes used to give the drawing a sense of authenticity.
3. Light and Shadow: The play of light and shadow adds depth and dimension to an elevation drawing. By carefully considering the direction and intensity of light, you can create a drawing that feels dynamic and realistic. Shadows help define the form and shape of the building, enhancing its visual impact.
By incorporating these elements into your elevation drawings, you can create compelling visuals that effectively communicate your design intent.
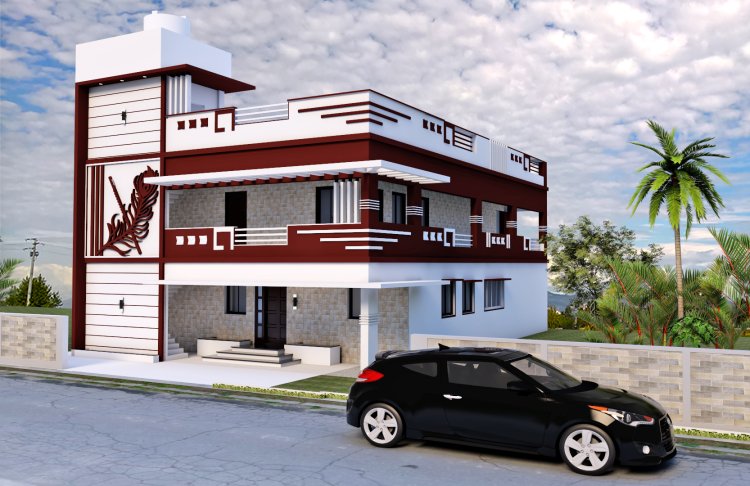
front elevation home
Tools and software for creating elevation drawings
In the digital age, there are various tools and software available to assist in creating elevation drawings. These tools not only streamline the drawing process but also offer additional functionalities to enhance your designs. Let's explore some popular options:
1. Computer-Aided Design (CAD) Software: CAD software, such as AutoCAD and SketchUp, provides powerful tools for creating accurate and detailed elevation drawings. These programs offer precise measurement capabilities, a wide range of drawing tools, and the ability to create 3D models that can be easily converted into elevations.
2. Building Information Modeling (BIM) Software: BIM software, like Revit and ArchiCAD, takes elevation drawings to the next level by incorporating parametric modeling and data-rich designs. BIM software allows you to create intelligent 3D models that automatically generate elevation drawings and other construction documents.
3. Digital Painting Software: Digital painting software, such as Adobe Photoshop and Corel Painter, offers advanced drawing and painting tools that can be used to create stunning elevation drawings. These programs allow for greater artistic freedom and customization, enabling you to add realistic textures, lighting effects, and other artistic elements to your drawings.
Choosing the right tools and software depends on your specific needs and preferences. It's important to explore different options and find the ones that best suit your workflow and design style.
Step-by-step guide to creating an elevation drawing
Now that we've explored the importance of elevation drawings and the elements that make them successful, let's dive into a step-by-step guide on how to create your own elevation drawings. Follow these steps to bring your designs to life through detailed and visually captivating elevation drawings.
1. Gather Reference Materials: Start by collecting reference materials such as floor plans, site plans, and any other relevant drawings or images. These references will help you understand the design intent and guide your drawing process.
2. Set Up Your Workspace: Ensure you have a clean and well-lit workspace with all the necessary drawing tools and materials. This could include pencils, rulers, erasers, tracing paper, and any other tools you prefer to use.
3. Scale and Dimensions: Determine the scale and dimensions of your elevation drawing. This will depend on the size of the building and the level of detail you want to include. Use a scale ruler or set the appropriate scale in your digital drawing software.
4. Outline the Basic Shapes: Start by outlining the basic shapes of the building. Use light and loose strokes to create a rough sketch of the overall form. Focus on capturing the proportions and general layout of the façade.
5. Add Details: Once you have the basic shapes, start adding details to your drawing. Pay attention to the façade elements such as windows, doors, and architectural features. Use guidelines and measurements to ensure accuracy.
6. Refine and Clean Up: Refine your drawing by cleaning up any rough lines or inaccuracies. Use an eraser to remove any unnecessary guidelines or mistakes. This is also a good time to add shading and textures to enhance the depth and realism of your drawing.
7. Label and Annotate: Label and annotate your elevation drawing to provide additional information. Include labels for different elements, dimensions, materials, and any other relevant details. This will make your drawing more informative and easier to understand.
8. Review and Revise: Take a step back and review your elevation drawing. Look for any areas that need improvement or adjustment. Make revisions as necessary to ensure the drawing accurately represents your design intent.
9. Digitize (optional): If you prefer working digitally, you can digitize your hand-drawn elevation drawing using a scanner or by taking a high-resolution photograph. Import the image into your chosen software and make any final adjustments or enhancements.
10. Save and Share: Save your elevation drawing in the appropriate file format and share it with clients, colleagues, or other stakeholders. Consider creating multiple versions, such as black and white or color, to cater to different preferences.
By following these steps, you can create elevation drawings that effectively communicate your design ideas and showcase your architectural vision.
front elevation home design
Tips for creating visually appealing elevation drawings
Creating visually appealing elevation drawings requires a combination of technical skills and artistic sensibility. Here are some tips to help you create drawings that stand out and capture attention:
1. Study and Observe: Study and observe different architectural styles, historical buildings, and contemporary designs. This will help you develop a sense of proportion, scale, and form. Take inspiration from various sources and incorporate elements that resonate with your design aesthetic.
2. Practice Perspective Drawing: Perspective drawing is key to creating realistic and accurate elevation drawings. Practice drawing cubes, buildings, and other objects from different viewpoints. This will improve your understanding of spatial relationships and help you create convincing architectural forms.
3. Experiment with Different Techniques: Don't be afraid to experiment with different drawing techniques and styles. Try using various shading techniques, line weights, and textures to add depth and visual interest to your drawings. This will give your elevation drawings a unique and distinctive look.
4. Use Color Strategically: Color can be a powerful tool in elevation drawings. Use color strategically to highlight important elements or to create a specific mood. Consider the color palette of the building materials and incorporate it into your drawing to make it more realistic.
5. Pay Attention to Composition: Composition plays a crucial role in creating visually appealing drawings. Consider the placement of different elements within the frame and how they interact with each other. Use principles of balance, rhythm, and focal points to create a harmonious and visually pleasing composition.
6. Seek Feedback: Don't hesitate to seek feedback from colleagues, mentors, or other professionals in the field. Their insights and suggestions can help you improve your drawing skills and refine your techniques. Embrace constructive criticism as an opportunity for growth and learning.
Remember, practice makes perfect. The more you practice and experiment with different techniques, the more confident and skilled you will become in creating visually appealing elevation drawings.
Examples of stunning elevation drawings
To further inspire and motivate you, let's take a look at some examples of stunning elevation drawings. These drawings showcase the creativity and technical mastery of architects and designers from around the world.
1. Example 1:
This elevation drawing beautifully captures the grandeur and elegance of a historical building. The intricate details of the façade, including the ornate moldings and decorative elements, are meticulously rendered. The careful use of shading and highlights adds depth and realism to the drawing.
2. Example 2:
This modern elevation drawing showcases a sleek and minimalist design. The clean lines and simple shapes create a sense of harmony and balance. The use of color adds visual interest and highlights different elements of the building, such as the large windows and balconies.
3. Example 3:
This landscape elevation drawing depicts a beautifully designed garden. The drawing effectively communicates the layout and features of the outdoor space, including the pathways, plants, and water features. The use of texture and shading creates a sense of depth and invites the viewer to explore the garden.
These examples demonstrate the versatility and artistic possibilities of elevation drawings. They showcase the ability of elevation drawings to communicate different architectural styles and design concepts.
How elevation drawings enhance the design process
Elevation drawings play a crucial role in enhancing the design process at various stages. Let's explore how elevation drawings contribute to different aspects of the design process.
1. Design Development: Elevation drawings help architects and designers refine and develop their initial design concepts. By visualizing the building in elevation, they can identify design flaws, inconsistencies, or areas that need improvement. This allows for iterative design development and ensures that the final design meets the intended vision.
2. Client Communication: Elevation drawings are invaluable tools for effectively communicating design ideas to clients. They provide a clear and realistic representation of how the building will look from the outside. By presenting elevation drawings, architects can help clients visualize the final outcome and make informed decisions about the design.
3. Building Approvals: Elevation drawings are often required for obtaining building approvals and permits. They provide regulatory bodies with a comprehensive understanding of the proposed design and its compliance with local building codes and regulations. Elevation drawings help ensure that the design meets safety standards and is suitable for the intended purpose.
4. Construction Documentation: Elevation drawings serve as essential construction documents that guide builders and contractors during the construction phase. They provide precise measurements, details, and specifications, ensuring that the final structure accurately reflects the design intent. Elevation drawings help minimize errors and discrepancies during construction, saving time and resources.
5. Marketing and Promotion: Elevation drawings are powerful marketing tools that can be used to promote architectural projects. They can be showcased in brochures, websites, and presentations to attract potential clients and investors. Elevation drawings help create a strong visual impact and convey the unique selling points of the design.
In summary, elevation drawings enhance the design process by facilitating design development, client communication, building approvals, construction documentation, and marketing efforts. They are an integral part of the architectural workflow and contribute to the success of a project.
Elevation drawings in different industries (architecture, interior design, landscaping)
While elevation drawings are commonly associated with architecture, they are also relevant in other industries that involve spatial design. Let's explore how elevation drawings are used in different fields:
1. Architecture: As discussed throughout this article, elevation drawings are essential in architecture. They help architects visualize and communicate their design ideas, obtain building approvals, and guide construction.
2. Interior Design: Elevation drawings are also valuable tools in interior design. They help designers visualize and communicate their ideas for wall treatments, cabinetry, and other vertical elements. Elevation drawings enable clients to understand the proposed design and make decisions on materials, finishes, and layout.
3. Landscape Architecture: Elevation drawings are used in landscape architecture to showcase the design of outdoor spaces. They help communicate the layout of pathways, planting beds, retaining walls, and other vertical elements. Elevation drawings provide a clear understanding of how the landscape will look from different viewpoints.
4. Industrial Design: Elevation drawings are utilized in industrial design to depict the exterior form and dimensions of products. They help manufacturers and designers visualize and communicate the appearance of the product, ensuring that it meets design specifications and user requirements.
In these industries, elevation drawings serve as critical tools for effective communication, design development, and construction guidance. They enable designers to present their ideas clearly and accurately, ensuring that the final outcome meets the desired vision.
Conclusion
Elevation drawings are a powerful tool in the design process that allows architects and designers to communicate their ideas, refine their designs, and guide construction. By effectively capturing the scale, proportions, and details of the building, elevation drawings breathe life into architectural projects.
front elevation for house
Keywords: Best Elevation Drawings,front elevation, normal elevation, front elevation home, front elevation home design, front elevation for duplex house, home exterior, exterior design, home exterior designs ideas, modern home exterior designs, home exterior design, house exterior design ideas, exterior home design ideas, best apartment exterior design, modern house exterior and interior design, house exterior design